おはようございます。レッドハットでAnsibleのテクニカルサポートエンジニアをしている八木澤(ひよこ大佐)です。
Ansible Towerをインストールする際は、各種リポジトリから依存パッケージをダウンロードする必要があります。Ansible Towerのインストールパッケージには依存パッケージが同梱されていないものと、同梱されているもの(Bundle)があります。 しかし、Bundle Installerを利用してもすべてのパッケージが同梱されているわけではありません。一部のパッケージはリポジトリからダウンロードする必要があります。
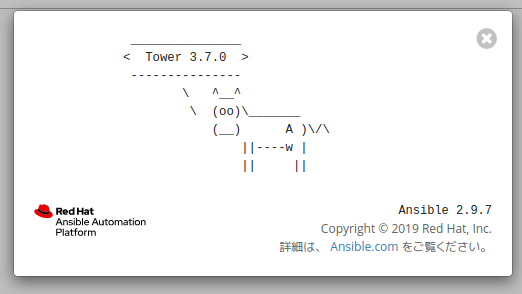
通常は問題ありませんが、Ansible Towerを外部ネットワークから遮断した環境でインストールしたい場合には、別途オフライン用のリポジトリを用意するなどの追加手順が必要となります。今回はその手順を、本記事執筆時点(2020年5月22日)での最新版である「Red Hat Enterprise Linux 8.2」と「Ansible Tower 3.7.0」の組み合わせを用いて解説します。
今回はAll-in-One構成(1台のAnsible Towerノードと内部DB)での手順をご紹介します。この手順はインストールする環境、構成(クラスタ構成および外部DBの有無)等によっても異なります。 また、必ずこの手順でセットアップできることを保証するものではありませんので、あくまで一例として参考にしていただければ幸いです。
「Ansible Tower のオフラインインストール」として、Ansible Tower 3.3.1をRHEL 7.4にインストールする記事が既に公開されていますが、今回の記事はアップデート版として併せて参照していただければ幸いです。
1. オフライン環境のRHELのシステム登録を実施する
通常RHELは「subscription-manager」コマンドを利用してオンラインでシステムを登録することができますが、オフライン環境では別の手順でサブスクリプションを登録する必要があります。 以下のドキュメントに従って、オフライン環境でシステムを登録します。
2. オフラインリポジトリを構成する
まずセットアップ時に追加パッケージをダウンロードするために、オフラインリポジトリを構成する必要があります。以下のURLから、「Red Hat Enterprise Linux 8.2 Binary DVD」のisoイメージをダウンロードします。
Software & Download Center - Red Hat Customer Portal
ダウンロードしたISOファイルをRHELに転送します。(VMware vSphereなどであれば、DVD-ROMドライブを仮想マシンに追加し、isoイメージをマウントすることも可能です) 転送したら、マウントポイントを作成し、isoイメージをマウントします。
[root@tower ~]# mkdir /mnt/disc
[root@tower ~]# mount -o loop  /tmp/rhel-8.2-x86_64-dvd.iso /mnt/disc/
mount: /mnt/disc: WARNING: device write-protected, mounted read-only.
マウントが完了したら、 マウントしたDVDイメージからrepoファイルをコピーし、 /etc/yum.repos.d/ ディレクトリ配下に配置します。
[root@tower ~]# cp /mnt/disc/media.repo /etc/yum.repos.d/rhel8disc.repo
[root@tower ~]# chmod 644 /etc/yum.repos.d/rhel8disc.repo
コピーしたrepoファイルを元に、AppStream用とBase用のrepoファイルをそれぞれ作成します。
[root@tower ~]# vi /etc/yum.repos.d/rhel8disc_appstream.repo

[RHEL8-Server-DVD-Appstream]
name=Red Hat Enterprise Linux 8.2.0 (DVD) Appstream
mediaid=None
metadata_expire=-1
gpgcheck=1
cost=500
baseurl=file:///mnt/disc/AppStream
enabled=1
gpgkey=file:///etc/pki/rpm-gpg/RPM-GPG-KEY-redhat-release

[root@tower ~]# vi /etc/yum.repos.d/rhel8disc_base.repo

[RHEL8-Server-DVD-BaseOS]
name=Red Hat Enterprise Linux 8.2.0 (DVD) BaseOS
mediaid=None
metadata_expire=-1
gpgcheck=1
cost=500
baseurl=file:///mnt/disc/BaseOS
enabled=1
gpgkey=file:///etc/pki/rpm-gpg/RPM-GPG-KEY-redhat-release
リポジトリが正常に認識されているか確認し、問題がなければオフラインリポジトリのセットアップは完了です。
[root@tower ~]# dnf repolist
Updating Subscription Management repositories.
Unable to read consumer identity
repo id                       repo name
RHEL8-Server-DVD-Appstream    Red Hat Enterprise Linux 8.2.0 (DVD) Appstream
RHEL8-Server-DVD-BaseOS       Red Hat Enterprise Linux 8.2.0 (DVD) BaseOS
3. Ansible Towerをインストールする
では、実際にAnsible Towerをインストールしてみましょう。Ansible Tower 3.7.0のBundleパッケージは以下のURLから入手可能です。
https://releases.ansible.com/ansible-tower/setup-bundle/ansible-tower-setup-bundle-3.7.0-4.tar.gz
ダウンロードしたアーカイブをscpコマンド等でオフライン環境下にあるRHELサーバーへ配置します。 その後、RHEL上で配置したアーカイブを展開します。
[root@tower ~]# tar xvf ansible-tower-setup-bundle-3.7.0-4.tar.gz
[root@tower ~]# cd ansible-tower-setup-bundle-3.7.0-4/
展開が完了したら、インストールのためにinventoryファイルを編集します。今回は以下のように記述します。
[root@tower ansible-tower-setup-bundle-3.7.0-4]# vi inventory

[tower]
localhost ansible_connection=local

[database]

[all:vars]
admin_password='redhat'

pg_host=''
pg_port=''

pg_database='awx'
pg_username='awx'
pg_password='redhat'
pg_sslmode='prefer'  # set to 'verify-full' for client-side enforced SSL

# Isolated Tower nodes automatically generate an RSA key for authentication;
# To disable this behavior, set this value to false
# isolated_key_generation=true


# SSL-related variables

# If set, this will install a custom CA certificate to the system trust store.
# custom_ca_cert=/path/to/ca.crt

# Certificate and key to install in nginx for the web UI and API
# web_server_ssl_cert=/path/to/tower.cert
# web_server_ssl_key=/path/to/tower.key

# Server-side SSL settings for PostgreSQL (when we are installing it).
# postgres_use_ssl=False
# postgres_ssl_cert=/path/to/pgsql.crt
# postgres_ssl_key=/path/to/pgsql.key
inventoryファイルの編集が完了したら、後は通常のTowerのインストールと同様にsetup.shを実行します。
[root@tower ansible-tower-setup-bundle-3.7.0-4]# ./setup.sh
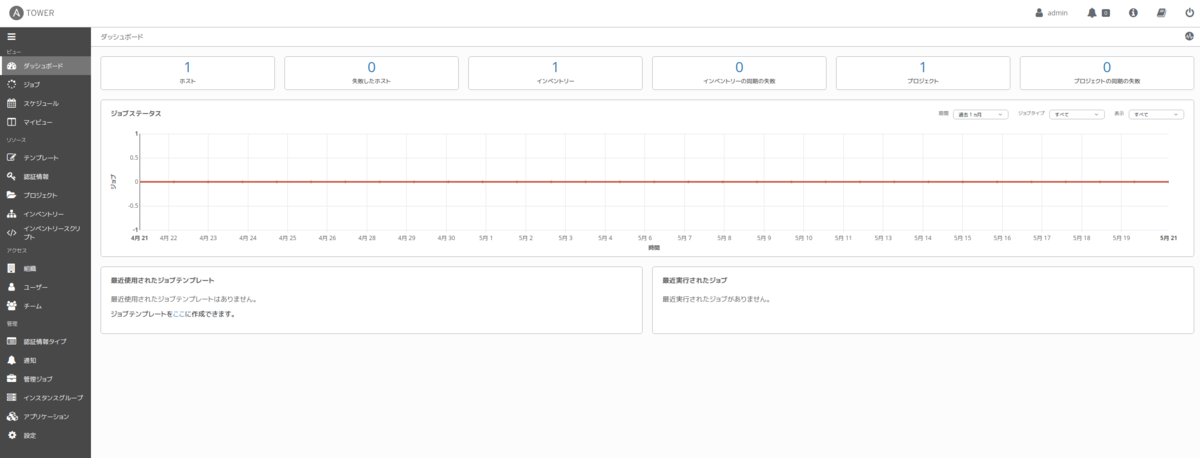
無事setup.shの実行が完了したら、 https://<TOWERのIPアドレス>/ をWebブラウザで開き、TowerのWeb UIを開きます。ライセンス投入後、以下のダッシュボードが表示されればAnsible Towerのインストールは完了です。


オフライン環境では通常よりもひと手間増えてしまいますが、オフラインリポジトリを正しく構成すればセットアップすることができます。ぜひ参考にしていただければ幸いです。
Happy Automation!